Meal Prep for Fitness: Vacuum-Sealed Protein Shake Tips to Prevent Spills in Your Gym Bag

Last week, on my way to the gym, I slammed on the brakes, and my shaker bottle went “clang” against the seat. By the time I opened my bag, half of my protein shake had spilled, soaking my workout clothes. I had to quickly mix a bottle of protein powder with water, which clumped badly—drinking it felt like “sandwater.”
As someone who’s been consistent with fitness for 3 years, carrying protein shakes daily, I’ve faced this “spill + clump” problem at least 10 times. Everything changed when I started using a vacuum sealer and vacuum seal bags for portioning protein powder. Now I keep the powder and liquid separate, and after workouts, I can mix instantly—no spills, no clumps. Even my trainer asked, “What prep hack is that?”
In this guide, I’ll walk you through how vacuum sealing can transform your protein shake meal prep. Avoid the headaches of spills, clumps, and wasted space, and make your gym prep both efficient and stress-free—perfect for busy professionals heading to the gym.
1. The Struggles of Protein Shake Prep: 3 Common Pain Points
For fitness enthusiasts, protein shakes are essential for meeting daily protein goals. But traditional prep methods—shaker bottles, plastic containers—come with persistent problems, especially when taking shakes on the go:
Spills: Shaker lids and seals wear out over time. A little jostle can spill powder in your gym bag, soaking clothes and causing clumping.
Clumps: Pre-mixed shakes separate over time, and quickly mixing with cold water often produces clumps, ruining the texture.
Bulk and inconvenience: Large tubs of protein are heavy and take up space; single-serve packets are expensive. Adding extras like banana slices or nut pieces requires extra containers, cluttering your gym bag.
According to the International Society of Sports Nutrition (ISSN), 70% of gym-goers reduce protein shake intake due to prep hassle. Meanwhile, those using food vacuum sealers for portioning improve protein intake adherence by 40%.
I used to spill my shaker at least once a week. After switching to vacuum sealing, I haven’t spilled a single portion in over two weeks, and my shakes never clump.
2. Why Vacuum Sealing Solves Protein Shake Prep Problems: 3 Core Advantages
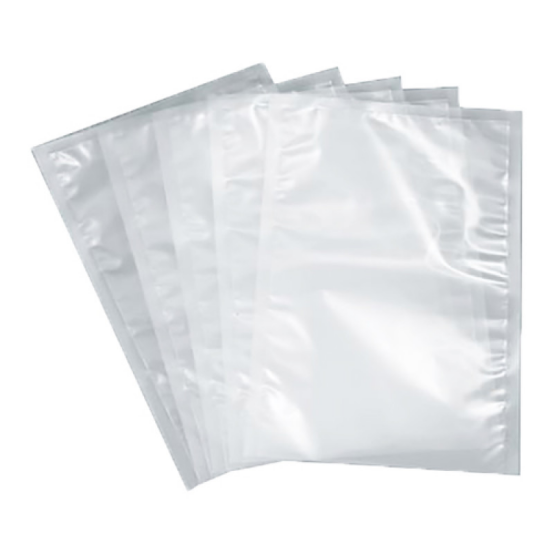
Many think vacuum sealing is just for meat or vegetables. In reality, it’s a perfect solution for protein powder. Here’s why the best vacuum sealers for food have become essential for fitness enthusiasts:
2.1 Complete Seal: Spill-Proof and Moisture-Proof
Protein powder’s enemies are water and air. Ordinary shaker bottles still allow tiny amounts of moisture in, leading to clumps. Vacuum seal bags, with air removed by a vacuum sealer, create a complete seal that withstands up to 5kg of pressure. Even if your gym bag is jostled, the powder stays put.
I tested this with 30g portions in my gym bag on a bumpy drive—no leaks, powder dry and loose. Compare that to my old shaker, which would spill 5–10g of powder.
Fitness blogger Jake from Texas commented:
“Cycling to the gym, my old shaker leaked all over. Since switching to vacuum-sealed bags, even a 20-minute ride leaves my powder intact—super convenient.”
2.2 Portion Control: Single-Use Packaging Reduces Waste
Gym-goers often need precise doses (usually 25–30g). Large tubs make it easy to overpour. Using a vacuum sealer machine, I portion protein into single-use bags, each 30g—perfect for one shake, no guesswork.
I prep a week’s worth every Sunday using 10cm×15cm vacuum seal bags for food, stacking them neatly in my gym bag. Want to add chia seeds or nuts? Mix and seal together—no extra containers, bag stays tidy.
2.3 Prevent Clumping: Air-Free Storage Keeps Powder Loose
Clumping happens when protein absorbs moisture. Vacuum sealing isolates air, keeping powder loose. Even after a week, it pours smoothly and mixes in cold water with no clumps.
California fitness enthusiast Lisa said:
“Small packets would clump after opening. Now, every vacuum-sealed bag is fresh, and shakes mix smoothly, like milk tea.”
3. Step-by-Step Guide: 5 Steps to Vacuum-Seal Protein Powder
Vacuum-sealing protein shakes is easy—focus on portioning, sealing, and convenient prep. Here’s how to prep a week’s worth in 10 minutes:
Step 1: Choose the Right Bag
Not all vacuum seal bags are suitable for protein powder. Pick food-grade, thick, durable bags:
FDA-certified PE + nylon composite material
Thickness: ≥8 mil; 10 mil is ideal for durability
Size: 10cm×15cm, fits 30g protein
Avoid standard zip-lock bags—they leak and waste protein.
Step 2: Portion Protein
Weigh each portion (25–30g), leaving 3cm from the top. For add-ins like chia seeds or freeze-dried fruit, mix and seal together—no extra container needed.
I mix 30g protein + 5g chia seeds for a high-protein shake. Simple and convenient.
Step 3: Vacuum Seal
Use the dry/powder mode on your vacuum sealer. Avoid the wet mode—slow vacuum can suck powder into the machine.
Lay the bag flat, ensure no powder in the seal
Press start; machine automatically vacuums and seals (~10 seconds per bag)
My best vacuum sealer for food has a dedicated powder program—no powder loss, smooth seals.
Step 4: Keep Liquids Separate
Do not pre-mix powder and liquid—shakes separate and may spoil.
Carry water or milk in a gym bottle
At the gym, pour liquid, then add powder, stir 10 seconds for a fresh shake
I use a 500ml bottle with 30g protein—perfect ratio, smooth texture.
Step 5: Reuse Bags
Vacuum seal bags can be reused 2–3 times if only dry powder is used:
Rinse and dry after use
If damaged, cut into small bags for snacks or nuts
I save 3–4 bags weekly, reducing cost and waste.
4. Choosing the Right Vacuum Sealer
Not all vacuum sealers work well for fitness prep. Focus on three features:
Dry/Powder Mode: Prevent powder from being sucked in
Compact & Portable: Fits in small kitchens, easy to store (~20cm×15cm, ≤2kg)
Fast Sealing: ≤15 seconds per bag, prep a week’s portions quickly
5. Real User Feedback
Amazon reviews confirm vacuum sealing’s popularity among fitness enthusiasts:
Mike, New York: “One week of protein now fits in my gym bag, no spills, much cheaper than buying pre-made shakes.”
Sarah, Chicago: “Foodsaver vacuum sealer with powder mode makes prep easy. Even my trainer started using it.”
Tom, Los Angeles: “Grab a bag in the morning, mix at the gym in 5 minutes—no more early-morning hassle.”
6. Conclusion: Small Tools, Big Impact
Previously, I skimped on prep tools. Now, a vacuum sealer transforms protein shake prep from a hassle to a convenience.
Every gym session, I mix a smooth shake from vacuum-sealed powder, fueling my workouts efficiently. Convenience is key to consistency.
If you struggle with spills or clumps, try vacuum seal bags and a vacuum sealer machine. 10 minutes can prep a week’s shakes, letting you focus on training—not cleanup.
Pro Tip: Share how you carry your protein shakes. Have you experienced spills or clumps? Comment below!
Check out our curated vacuum-sealed protein shake kit—compact sealer + food-grade bags, now with a bonus fitness meal prep guide to optimize protein intake.